I think a lot of people are intimidated by the idea of crafting with young children. This is a simple, open-ended project that anyone with basic hand-sewing skills can share with a child. All it takes is some time and patients. You can decide how much or how little you would like your child to be involved. In our house this was a full hands on project for 3 year old Galen.

~
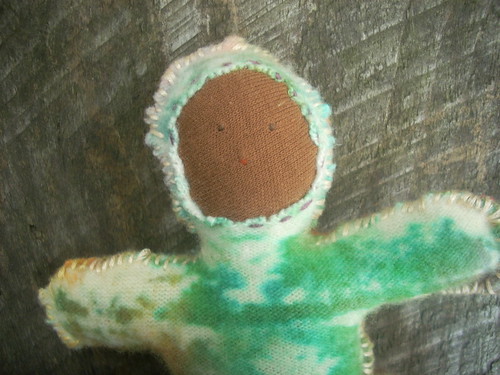
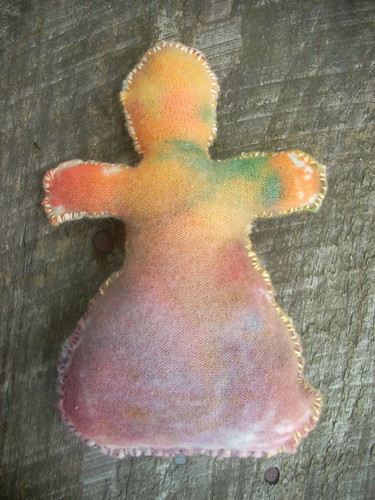
Front view of the "Angel Baby" Galen created as a first birthday gift for his sister~
Step 1: Decide (and if necessary figure out!) what your child would like to make. We narrowed down
Galen's list of things to these three: a rainbow dog with a jingling bell in it's tummy, a rainbow bird with a jingling bell in it's tummy and a rainbow angel with a jingling bell in it's tummy.
Before we could start I needed to get a better idea of what he had in mind so that I could do my best to stay true to his vision. Talking helps to figure out where to start, but to get a really clear idea, you have to move beyond that, which brings us to step two.
Step 2: Get out a large sheet of paper and start drawing. If the child you are working with is very small, then sketch what you
think they might be talking about. Let them tell you all the things that are wrong with your drawing! It's ok. This is their project, you're just the facilitator here. Keep going. Make the head bigger where they say, add a tail, or bat ears, etc, until they are happy with the shape. Beware of the child that likes to make mommy do tricks! At some point you might have to say, "You know what, I'll draw over 10 sheets of paper taped together for you some other time. I think we should keep this project about this big." And then show them just what would work best.
An older child may very well be able to draw just what they are looking for, right off the bat. We've made a lot of these little stuffed toys over the years, and each is as unique as the child who designed it.
Step 3: Now that you have your basic, and hopefully fairly simple, design, it's time to trace it. You can use regular tracing paper, Swedish tracing paper, tissue paper, a scrap of interfacing; whatever you have around. Just clearly trace the pattern.
Step 4: Pin it to previously selected fabric and cut. If you are planning on Kool-Aid dying the fabric (as we did with this particular one) then it would be best if the fabric is wool. Wool felt would be ideal since there won't be any fraying on loose edges. Our Angel Baby was made from a lightly felted wool jersey.
Step 5 (optional): Painting the fabric. I offered one color at a time of a strong mix of Kool-Aid for him to paint directly on to the fabric with a paint brush. Once the painting is done, the fabric needs to be steamed for approximately 40 minutes and then rinsed well.
**At this point it's probably time to put this project away for another day. Don't be afraid to start an on-going project with a young child. So long as you are clear up front about the time line, they will be fine with it, and excited about the next time a crafting day comes around.
** Step 6:
 Sewing. I find that embroidery floss and a large doll makers needle are best suited to this type of sewing. For most stuffed animals you will just be sewing a front to a back and then maybe adding on some ears or something afterward. For this project I had the idea of cutting out a circle and layering a piece of skin tone cotton underneath. Be careful with your cutting though! I thought this was a sweet idea that would get him closer to what he was looking for, when in fact, it made him cry! There is a certain line that needs to be walked between anticipating and guessing at what their real goal is and letting the project really be the way they see it. You can't always be sure which one you are doing! I've had it go both ways. One of the first things Elijah ever made was a doll with green skin, red eyes, a gold mouth and a purple hat. I made some suggestions of "normal" eye colors, but he wasn't interested and he walked away very please with his work. Other times I've had a child bemoan the fact that something that they were making didn't look like a "real, for real..."(moose in the case that I'm thinking of) because I held my tongue and didn't make suggestions to improve it. I say this not to turn you off the idea of sewing with a little one, but to give you an idea of how to make a positive experience.
I told Galen that if he didn't like how this one turned out, we would make another one, exactly the way he wanted it. Thankfully, he ended up
loving this one and no more tears were shed.
Back to the project: We did some very simple embroidery for the face, then I pinned it to the underside of the front piece and stitched around the opening. Next we pinned front to back (wrong sides together) and stitched most of the way around, leaving an opening for stuffing. As you may or may not be able to see, Galen requested may colors of embroidery floss in keeping with the rainbow theme!
We used a basic whip stitch here.
I would like to offer a few tips and ideas for sewing with preschoolers:
- sit them on your lap so that you can guide their work
- keep the thread or floss relatively short so that it's less likely to get tangled
- take turns between you doing the sewing and placing the needle for them to pull through
- sing songs while you sew
- don't sit or try to attempt this for very long stretches
- when the child is not actively sewing, let them pull out pins and return them to the pin cushion
- take advantage of the times when their attention is on another part of the project to make some headway yourself. With this project, I did a lot of sewing while he was picking out a bell for the tummy and carding some wool.
- It's best to do the tricky parts yourself and save the long, straight stretches for the little guy.
Step 7 (also optional) : Carding the wool for stuffing. You can use any kind of stuffing for a project like this, but I'm partial to wool. All the better if the kiddo gets to card the wool himself. Some day I'll have a set of nice carders, but for now we just use two dog brushes. They are inexpensive, easy to obtain, and have the added advantage of being an excellent size for small hands.
Step 8: Stuff your project. You can use a chopstick or the eraser end of a pencil to make sure that the stuffing gets into all the little nooks and crannies. Little people love helping with this part. When your project is about half-way stuffed you can add in a bell or a rattle, if so desired.

~
Back view~
Step 9: Sew up your opening and go play! Enjoy your truly one of a kind creation and the joy on your child's face as they run up to everyone they know shouting, "Look what I made!".


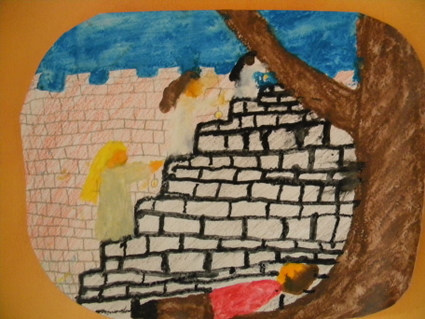 ~Elijah's illustration for the story of Saint Martin~
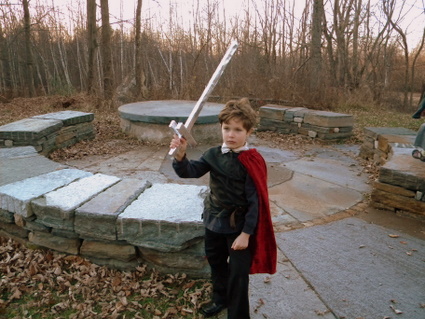
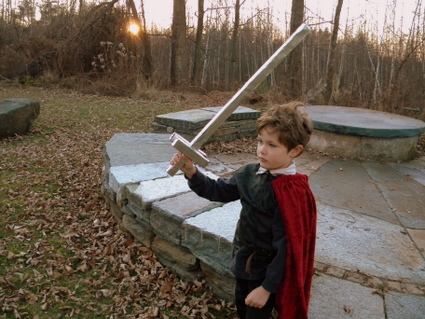
 This past Sunday, the children were in their first play; one angel, one soldier and one St. Martin himself.
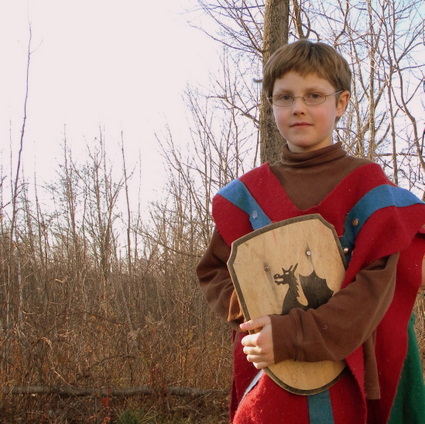
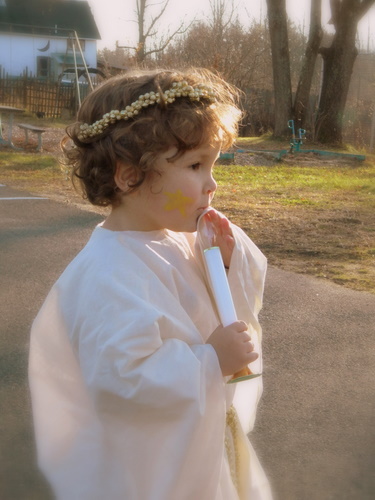
 I honestly felt that it was really spectacularly beautiful (even if the Littlest Angel, ahem Galen, did get bored halfway through, take off his sash and pretend to go fishing with it down from heaven).
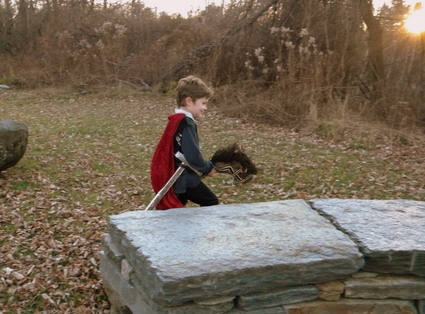 We got the script for this particular version from a teacher at a local Waldorf school and I'm so glad we did. It was really just lovely, full of poetry and music.
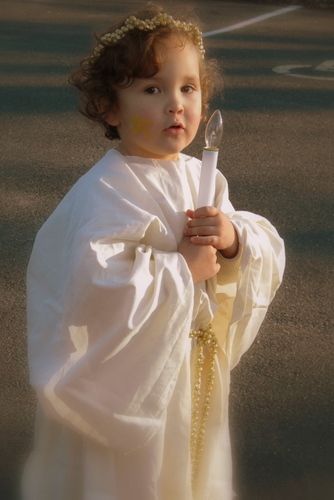 We have two 2nd grade boys in our little group, so they played the role of Martin concurrently. We have two fourth graders at the moment as well and my hope is that our next performance will be related to the subjects they are studying. There has already been mention of a play geared toward our third grader this spring. I've been thinking about how great it would be if we as the parents could come together to put on a small fairytale (perhaps with puppets or marionettes?) for our kindergarten and preschool set.
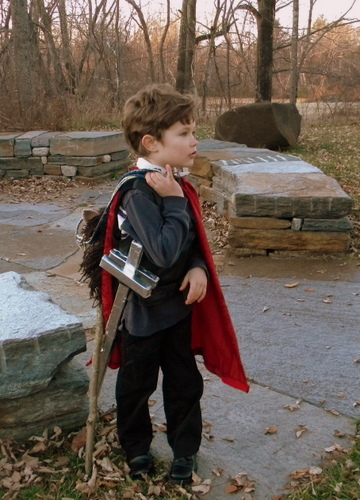 We were blessed with warm weather, which allowed us to stage the performance outside. I don't think that this stone circle could have been more perfect for the show. And the fact that we were nearing dusk just made it all the more enchanting.
 The performance was well received by our little audience of family and friends. And after we enjoyed a potluck dinner while waiting for the darkness to arrive in earnest.
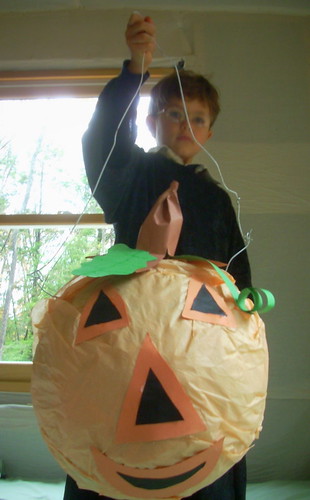
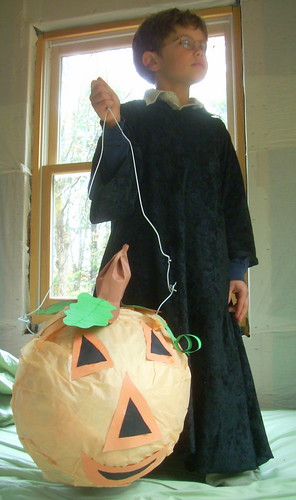
 Then we went out for our lantern walk, followed by spiced cider.
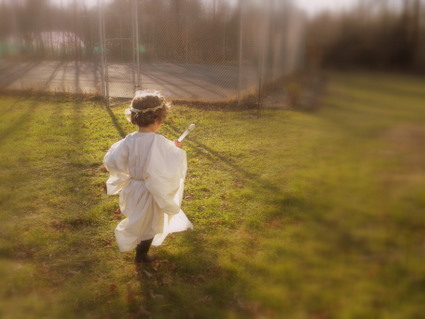 It certainly could have been worse, but during the walk, we didn't exactly manage to foster the reverent atmosphere that we were hoping for. We had some set backs in the beginning with lanterns falling apart (not the ones that we just made). And I think that a big part of the issue was that we never really talked about it in advance and didn't actually have someone set up to lead the walk.
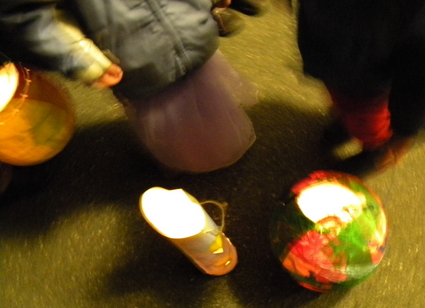
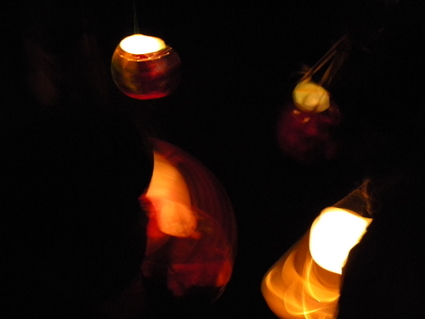 We still got out there and we took our walk and sang our songs.